A few weeks ago, I had the privilege of attending the National Conference on Keyboard Pedagogy. In this series, I'll share my notes and a few favorite quotes from the sessions I attended. You can read more about NCKP here. This post includes my notes from three NCKP sessions related to intermediate-level students: interviewing transfer students, developing a curriculum, and teaching technique.
SESSION I
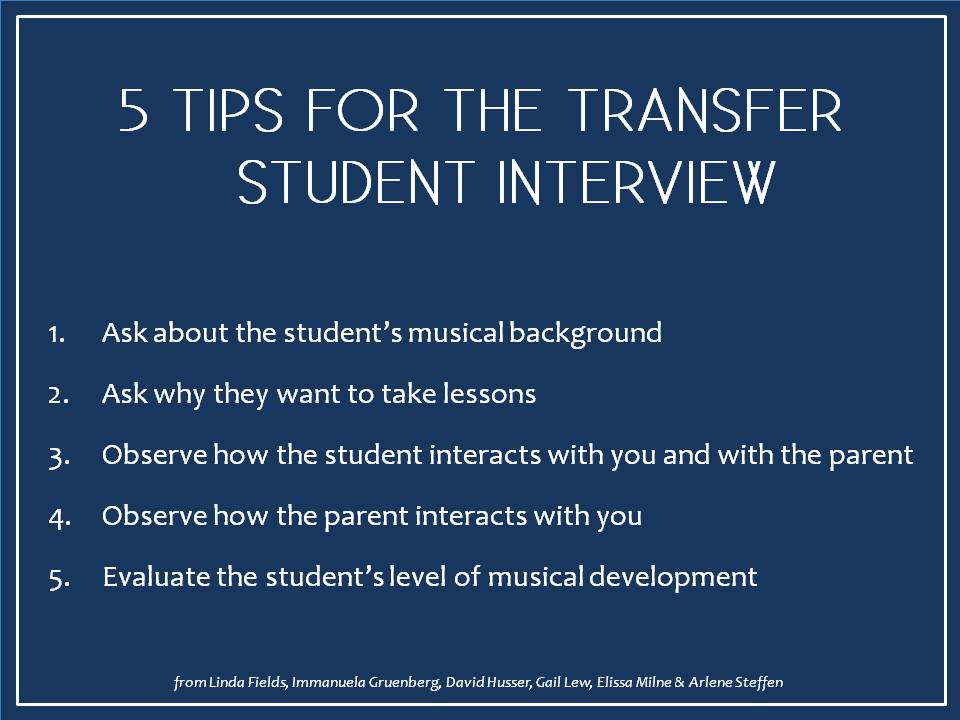
Conducting the Transfer Student Interview presented by Linda Fields, Immanuela Gruenberg, David Husser, Gail Lew, Elissa Milne & Arlene Steffen
Many of us have had transfer students in our studios at one point or another. What questions should we ask the family up front to ensure a smooth transition? How can we quickly assess the student's level of musical development in order to recommend appropriate repertoire moving forward? The panelists offered a few suggestions:
1. Ask about the student's musical background - Is the child involved in school or community choirs, bands, orchestras, etc.? - What is the parent's background in music? What are their expectations for their child? - What are the child's practice habits? Consider recommending an amount of practice time per day that is equal to the student's lesson length. - Ask, "What role does music play in your family?" - Does the child have other interests in sports, dance, theater, etc.?
2. Ask why they want to take lessons - Ask the parent(s), "What are your musical goals for your child? Consider asking parents to play classical music for their child a little bit every day - in the background, in the car, etc. - Ask the child, "Why do you want to study the piano?" - Ask, "Why do you want to study with me?"
3. Observe how the student interacts with you and with the parent - What do you observe in the child's personality, trust, enthusiasm, and responsiveness to you and to their parent? - How do the parent and child interact? How does the parent respond to you? How does the child respond to you? - Does the child have any learning/physical challenges? - How does the child process new information? Try giving a mini lesson on a simple sightreading piece. How does the child respond?
4. Evaluate the student's level of musical development - technic - musicality (their connection to instrument) - sight-reading (consider creating reading exams by level) - aural skills (use playbacks: 1-3-5, 1-2-3; singing/matching pitch) - written music theory (consider creating theory exams by level)

Download the handout from this session.
SESSION II
Developing a Curriculum for the Intermediate Transfer Student presented by Jane Magrath
Objectives - "Start with the areas you teach best" - Start where the student is and discover what they respond to
Developing a Curriculum Step 1: Level the student Ask the student to sightread 1-2 lines of three different pieces (classical or romantic) from a leveled series (see Masterwork, Celebration Series, Keith Snell). Choose three pieces from 3-4 different levels. Prepare students for success by setting the tempo for them, counting off, and choosing relatively easy-to-read pieces. Start from the highest level and work your way backwards.
Look for skills in counting, recognizing key signatures, and the ability to read a score. Keep going until you find the student's reading level. The student's performance level should be approximately two levels beyond their reading level.
Step 2: Establish a core repertoire plan Plan to use 4-6 books: at minimum, a core repertoire book (well-leveled, generally classical; see Masterwork, Helen Marlais, Celebration Series), a sheet music selection or other repertoire book, and a fun book (hymns, musicals, pop music, jazz; see Gillick: Lyric Preludes; Martha Mier: Jazz, Rags, and Blues; Just for You).
Step 3: Establish a sight-reading plan Find repertoire appropriate for the student's reading level (see Faber & Faber: Sight Reading series, Bastien: A Line a Day, Frederick Harris: Four Star, FJH: Sight Reading & Rhythm Every Day).
Step 4: Assess additional areas - Technique (see MTNA state syllabi leveled technical criteria) - Etudes, exercises (see Czerny, Hanon, Kohler, Concone, RCM Etude books, Clark/Goss/Holland Etude series, Edna Mae Burnam: Dozen a Day, Frances Clark technique books) - Theory, keyboard progressions, jazz, etc. - Composition projects: Give the student a starting place - i.e., "Compose a piece containing sudden changes," or "Create a piece containing sudden dynamic contrast," or "Compose something with contrasting legato and staccato passages" (see Alfred Valerie Cisler composition books).
Determining the difficulty level of pieces 1. Find similar pieces, one step harder and one step easier. Note the skills required and notice the number of ideas. 2. What is the feel on the keyboard? 3. Consider what the piece requires vs. what the student does well. Note the presence or absence of patterns. 4. Does it require double notes (two notes in a hand - around Level 6)? How thick is the texture? 5. Notice the number of skips and the distance between them. How predictable is the melody and phrasing?
Building a Curriculum (ex. 9th or 10th grade student) 1. Literature collection 2. Repertoire samples 3. Quick study pieces: 2-3 weeks, 1-2 pieces at a time (see Classics Alive!, The Hymnal - 1982 or UMH, Melodious Masterpieces) 4. Special pieces, fun pieces, collaborative/accompanying 5. Sight-reading: Consider assigning semester-long sight-reading projects for more advanced students (see Clementi sonatinas, Grieg Lyric Pieces, Burgmüller, Op. 100) 6. Theory (see Keith Snell: Fundamentals of Piano Theory books, Joanne Haroutounian: Explorations in Music, Edith McIntosh: Theory and Musicianship worksheets, Frederick Harris: Sound Advice, MTNA state syllabi) 7. Keyboard theory: cadences, sequences, chord progressions 8. Music history/listening: consider assigning a composer biography project - let students create their own presentations once a month 9. Technique: warm-ups, double thirds, scales, arpeggios, etudes, miscellaneous exercises (stretching/relaxing, Hanon)
Note: Try starting lessons with a little sight-reading. Consider sight-reading duets together or see Diabelli: 5-finger studies.
Download the handout from this session.
SESSION III
The Technique Behind Intermediate Repertoire presented by Nancy Bachus
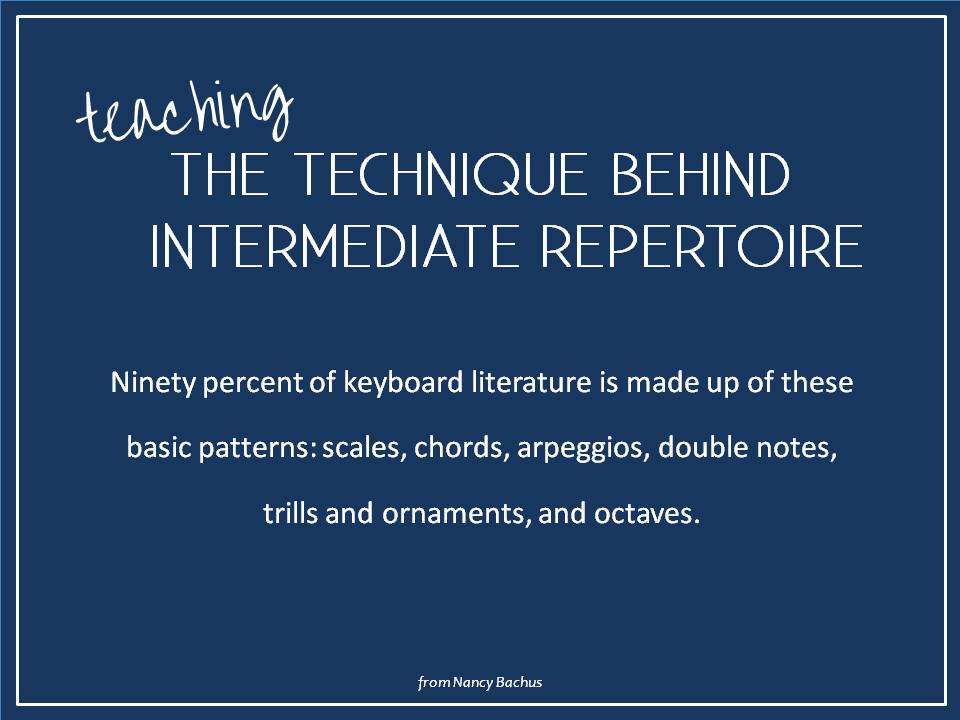
Technique "is a complete command of the instrument." It includes tone production (gravity or weight), keyboard patterns, touches, and physical aspects (gestures and motions). Did you know that ninety percent of keyboard literature is made up of these six basic patterns: scales, chords, arpeggios, double notes, trills/ornaments and octaves? This is the foundation for successful playing.

Technique for Elementary Students - 5-finger patterns in 24 keys: half notes, quarter notes, and eighth notes (with metronome) - Triads in all major/minor keys: solid, broken, and staccato - Arpeggios in all major/minor keys: hand-over-hand - Technic and etudes (see Pischna, Frances Clark technic and etudes)
Technique for Intermediate Students - 3-note chords: solid, broken, and staccato - 4-note chords: solid, broken, and staccato
1. Clinging legato vs. overlapping legato: for more romantic styles, such as Chopin - mold, create, feel (see Elegie, Op. 126, No. 7 by Chaminade). 2. Finger staccato vs. wrist staccato: for finger staccato, think of flicking dust off the keyboard. Try this simple five-finger pattern in triple meter: 5543354432 4432243321. For wrist staccato, try knocking on keys with your wrists first to get the motion, then try it with your 3rd fingers. 3. Two-note slur: teach the release first - wrist falls to being level with the keyboard; aim energy to your fingertips. Think "Fall-feel-pull" or "fall-transfer-pull," where the wrist follows the fingers in the "pull." Remember, the last note is still melodic. 4. Larger slur groups: try playing multiple notes within one gesture. 5. Mix of legato and finger staccato, two-note slur + staccato: practice this with scales - one hand plays eighth notes while the other plays (finger) staccato quarter notes (see Minuet in F Major by Mozart, Imitation by Köhler, Minuet in G Major from Anna Magdalena). 6. Repeated chords: "throw with an energy." Your fingers stay on the keys. Ask, "How much energy do we need?" Practice this with the Left Hand Study from For Children, Vol. 1 by Bartok (see "Minka" by Beethoven, Tambourin by Gossee). 7. Repeated notes: remember, it's one motion. Start from the edge of key; pull fingers back in a reflex motion (see Old Tale by Tcherepnin). 8. Voicing within one hand: practice balancing on one finger - keep the weight there without shifting (see Stuck on Five and One by Gurlitt, Swineherd's Dance, No. 12 by Bartok). 9. Divided hand: point your 3rd finger toward your 5th finger to weight that side of the hand, point your 3rd finger toward your thumb to weight that side of the hand. Practice melody + bass alone, then add the inner line but make it staccato (see Old French Song, Op. 39, No. 16 by Tchaikovsky, Rose Rock by Gurlitt, Three-Quarter Blues [very accessible!] by Gershwin). 10. Rotation: think of it as turning around a fixed point. Keep the connection between the fingers. Think of "turning a doorknob" with your entire forearm. Remember, you must have a firm arch between your thumb and fifth finger (see Chimes by Tcherepnin).
Warm-up idea: play all 30 Hanon exercises in succession. This works all five fingers continuously for about 20 minutes.
Teaching the physical aspects (body position, use of hand/fingers, larger gestures/motions)
1. Shoulder tension: this can even occur between the shoulder and the collarbone. 2. Natural hand curve: find the student's natural hand curve by having them open their hand on the crown of their head (Nelita True) 3. Firm nail-joint: "Knock" on the keyboard cover to get heavy nail-joints. Place a flat hand on the keyboard, pull fingers up, and flatten again. "Shake" weight into hands (at side). Hold firm nail-joint (finger by finger) on the edge of the keyboard. Have someone shake your upper arm and try to hold the nail-joint steady. 4. Arch: this connects your fingers to your thumb. Make a fist and walk your thumb and fifth finger on your leg ("bug walk").
"Anything we repeat often enough will become automatic." Ask students, "What does your brain think is the right way to play this?"
//
Previously: NCKP 2013: Part I Look for more of my notes from NCKP over the next few weeks!


