088 - The Art of Practicing: What I’m Learning from Madeline Bruser’s Book

Resources Mentioned
*Disclosure: some of the links in this episode are affiliate links, which means if you decide to purchase through any of them, I will earn a small commission. This helps support the podcast and allows me to continue creating free content. Thank you for your support!
The Art of Practicing: A Guide to Making Music From the Heart (Madeline Bruser)
Learn Faster, Perform Better: A Musician’s Guide to the Neuroscience of Practicing (Molly Gebrian)
Join the Musician & Co. Book Club (it’s free!)
Well-Tempered Clavier, Volume 1 (J.S. Bach)
The Perfect Wrong Note: Learning to Trust Your Musical Self (William Westney)
Ep. 060 - How Do We Approach Mistakes in Music Teaching & Learning?
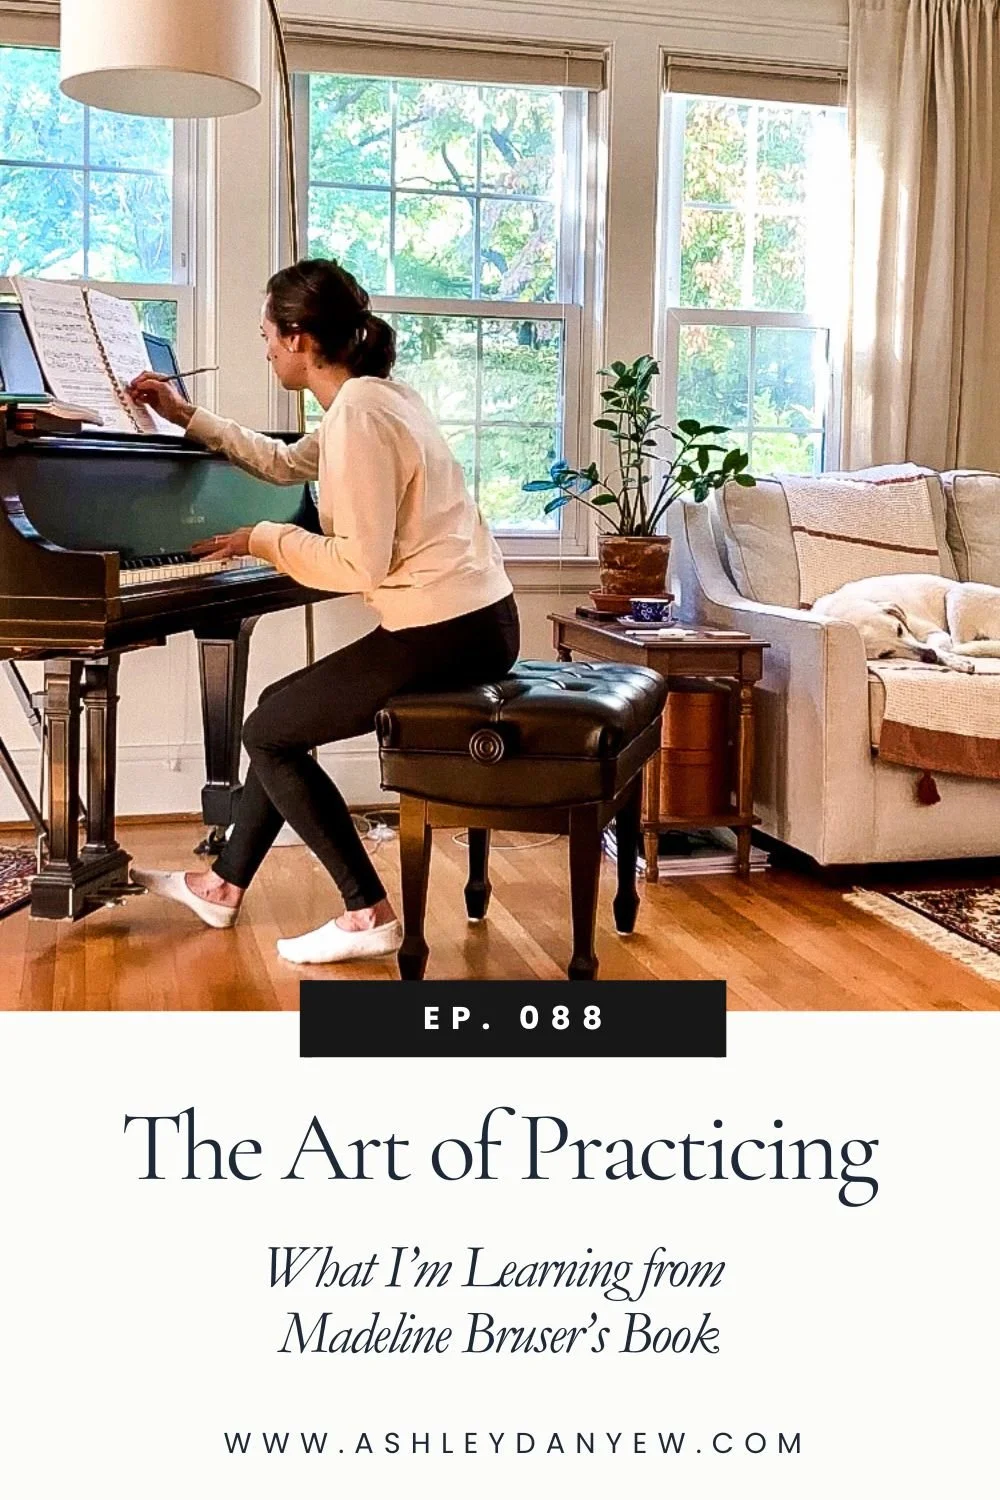
There was a time when I used to spend six hours a day practicing.
During my last year of undergrad, I spent two hours a day on technique exercises alone, then four hours on solo and accompanying repertoire. It became a routine. I established a structure, practiced things in order, and kept a practicing journal to track my time, approach, and progress.
But there’s more to it than that.
As teachers, we know that quality matters more than quantity in practicing. It’s not about the number of minutes (or hours) you play your instrument per day; it’s about how you approach it.
“Practice what needs to be practiced,” I tell my students regularly. But what else do they need to know? How do we cultivate effective practicing habits?
This fall, I read two books about practicing: The first is Madeline Bruser’s, The Art of Practicing: A Guide to Making Music from the Heart. The second is Molly Gebrian’s 2024 release, Learn Faster, Perform Better: A Musician's Guide to the Neuroscience of Practicing.
Art and science. Because practicing requires both.
This is part 1 of a 2-part series about practicing and what I’m learning and applying from both books.
In this episode, part 1, we’ll talk about the art of practicing. I’ll share what I’m learning from Madeline Bruser’s book and how I’m carrying these concepts and strategies into my practice sessions and studio.
Next month, we’ll explore Molly Gebrian’s book and unpack the research- and science-backed insights that explain how we learn. Learn Faster, Perform Better is our October pick for the Musician & Co. Book Club, so if you want to read along with me and a group of musicians and teachers this month, sign up and I’ll send you the reading plan. It’s free!
With that, let’s get into today’s topic.
Developing a Practice Routine
What does practicing look like for you these days?
I hate to admit this, but when I stepped away from the last performance component of my career at the beginning of 2018, I found myself not needing to practice regularly.
Of course, performance opportunities have come up since then, and I’ve taken on a few projects on my own. I play through my student’s repertoire, and play for my own enjoyment. But that daily ritual of sitting down at the instrument, warming up, really practicing something (not just cursory sight-reading)? It’s been a couple of years.
I was telling Steve recently, “I want to get back into regular practicing, but without a performance commitment, it’s hard to justify the time. What’s the point?” “There doesn’t need to be a point,” he reminded me. “Do it for you. I think you’d enjoy it.” And he’s right.
So, at the end of August, I made a renewed commitment to practice every weekday. It’s not much—just 30 minutes right now. 10 minutes on technique and warm-ups, and 20 minutes working through Bach’s Well-Tempered Clavier, Volume 1. I played a few of these in high school and college, but certainly not all (the fugues, especially). I’m working on one prelude and fugue pair each month. Last month, I played the Prelude No. 1 in C and learned the fugue; this month, I’m playing the Prelude No. 2 in C Minor (which I learned when I was 15) and learning the fugue.
That’s when I read Madeline Bruser’s book.
About the Book
Written in 1999, The Art of Practicing is, in her words, “a step-by-step approach that integrates movement principles with meditative discipline, which consists of focusing on sounds, sensations, emotions, and thoughts in the present moment.”
Early in the book, Madeline reminds us that “Everyone starts out in music as a listener.” Think about that for a second. And now think about the last time you were fully immersed in music listening. Was it while you were practicing? Often, we’re distracted and preoccupied with everything else that goes into playing that we stop listening. We’re too focused on reading, fingering, tempo, articulation, balance, or phrasing to truly immerse ourselves in listening. But Madeline argues that this is where we find enjoyment; this is how we receive music, so we have something to give to others in performance.
The Art of Practicing: A Step-by-Step Approach
Madeline outlines a 10-step approach to practicing that reminded me a little of William Westney’s strategies in his book, The Perfect Wrong Note: Learning to Trust Your Musical Self. I talked about this book in Ep. 60 and shared 5 ideas to bring into your studio.
For the sake of time, I won’t go into all 10 steps today. Instead, I want to highlight a few that stood out to me and that I’m working to incorporate into my own practice. These are also concepts I want to share with my older students this year.
Step 1: stretch
Madeline notes, “In addition to awakening the sensory system, stretching circulates oxygen to the brain, allowing us to think clearly.” I confess that I do not always take the time to stretch before I play. When I do, I appreciate the time it gives me to transition between life and practice—a physical and mental preparation.
Step 2: settle down in your environment
Have you ever felt the rush of adrenaline when you sit down to perform and feeling like your mind goes blank? Why does this happen?
Madeline explains that the flood of energy we feel in our bodies and from the audience can overwhelm us. This interrupts our normal mental chatter and causes everything to freeze (or go blank). A helpful strategy is to practice letting your mind experience this blankness through mindfulness. When you become more comfortable letting the mind feel uncluttered, it’s less jarring when it happens in performance.
Step 4: Use your body in a comfortable and natural way
We know this is important, right? But it’s especially important for beginners. Before the age of ten, the skeleton is still malleable and can be shaped by how you play your instrument. All the more reason to reinforce healthy technique from the beginning.
There were several things I highlighted in this section—many things I’ve learned through the years and tell my students:
Rotation exercises are fundamental to playing the piano
Drop into the keys with a loose, relaxed arm
Ground into the floor for support and stability
I enjoyed the story she shared about her lesson with Alexander Libermann when she was a teenager. She wrote:
“One of the first things he had me do was pick up a pencil and notice the movement my hand made. He pointed out that I automatically knew exactly how much pressure it took to hold the pencil without either squeezing it or dropping it. He explained that playing the piano was the same. Instead of hitting the key, you ‘take’ it, like taking a pencil in your hand. He taught me to use just enough strength to push down the key, and nothing extra.”
What an interesting, everyday illustration to use with students in lessons. I started doing this with even my youngest students and the change was immediate. I could see that their arms were more relaxed, their sound was clearer and had more of a singing tone. And they could tell the difference, as well.
Step 5: follow your curiosity as you practice
Here, Madeline talks about cultivating your creative intelligence, keeping your mind engaged in your playing. She gives us permission to redirect our attention or mix things up:
“You don’t have to do things in the same order as yesterday or pick up where you left off in your last session. You don’t always have to start with the most difficult section or practice every tricky passage three or ten or fifty times in a row. Hidden under such rigid programming is the voice of creative intelligence.”
I’ve been experimenting with this approach in my own practicing: starting in a new place every day, piecing blocks together in a way that feels organic vs. prescribed, letting myself enjoy the repetitions, the slow practice, the independent hand work.
Madeline also talks about the importance of taking breaks when practicing—10-15 minutes after every 45-minute session, which I definitely did not do on those days when I was practicing for hours on end. Am I the only one?
Step 8: Apply three listening techniques
Sing the notes and lines. She describes singing one line and playing the rest, which is such a great coordination challenge. She explains, “Once your perception is accurate, the brain transmits a clearer signal to the playing muscles so that your hands become better coordinated.” I used this technique with a student in a lesson yesterday and the results were remarkable. After struggling several times to play hands together, I had her play the bass line alone, then sing the melody and play the bass line, then play both parts. She found instant success and her playing was more musical and relaxed.
Place your attention on the vibrations. How do you feel the sound resonating in your body?
Place your attention on each sound as it resonates in the space around you. Appreciate the sound and texture it creates.
Step 9: organize notes into groups, phrases, and textures
Madeline writes about the influence of singing and dancing—“speech rhythm” and “body rhythm”—and the importance of separating rhythm and tonal components of music. She describes marking the beat through walking, dancing, or swinging the arms, which are activities we do regularly in lessons.
I enjoyed her discussion about grouping notes into meaningful shapes. She writes, “If we try to hear the music in the groups we see—pausing after each group of four sixteenth notes connected by beams, for instance, or after each group of triplet eighths—the music usually falls apart into meaningless fragments.” Instead, the energy of a musical line should flow over the beat and over the barline. This often requires careful score study and musical decision-making. As Madeline explained, “Music flows more easily through the body when it flows more coherently in the mind.”
Step 10: place your attention on the sensations of touch and movement
I’ve been using the phrase, “Trust your hands” a lot in lessons lately. We talk about this when sight-reading and playing repertoire, using the sense of touch to feel your way around the keyboard, feel the shape of a 5th or 6th in the hand, navigate around the black keys, feel the distance of an octave, feel the fingers stretch one step away from the thumb, etc.
Madeline writes, “As long as you depend on your eyes to play the right notes, your coordination cannot fully develop; your movements will not become as smooth, reliable, or powerful as they could be.” This was validation for me that these practicing strategies are important and worthwhile for developing coordination and a sense of touch.
Conclusion
I really enjoyed reading this book, and though unintentional, I’m glad it coincided with my return to regular practicing. It’s helped me become more aware and intentional about how I approach a new piece; I keep coming back to Steps 5 and 9 in particular. It’s also given me new ways to talk about practicing with my students and help them develop new skills.
I hope you found some inspiration and renewed motivation for your next practice session in this episode.
Stay tuned for Part II of this conversation—the science of practicing and Molly Gebrian’s excellent and well-researched book, Learn Faster, Perform Better. Again, if you’d like to read this book with me and a group of musicians and teachers this month, sign up for the Musician & Co. Book Club. Looking forward to having you join us!
I’d love to hear from you:
Have you read Madeline Bruser’s book? What insights stand out to you the most and what are you applying in your practicing or teaching?